If you're wanting to use the 3M Peltor WS Litecom Pro III headset with an exisiting two way radio, you'll need to program the frequencies from your radio to the headset. This process can be a bit intimidating at first look but in just a few steps, we'll have your frequencies programmed to your headset with no trouble.
What Litecom Headsets Can Be Programmed
Only the 3M Peltor WS Litecom Pro III headsets can be programmed to an existing two-way radio. You can find all of the models with WS below.
|
3M Peltor WS Litecom PRO III – Headband, Royal Blue |
|
|
3M Peltor WS Litecom PRO III – Neckband, Royal Blue |
|
|
3M Peltor WS Litecom PRO III – Hard Hat, Royal Blue |
|
|
3M Peltor WS Litecom PRO III – Headband, Intrinsically Safe |
|
|
3M Peltor WS Litecom PRO III – Neckband, Intrinsically Safe |
|
|
3M Peltor WS Litecom PRO III – Hard Hat, Intrinsically Safe |
|
|
3M Peltor WS Litecom PRO III – Headband, Bright Yellow |
|
|
3M Peltor WS Litecom PRO III – Neckband, Bright Yellow |
|
|
3M Peltor WS Litecom PRO III – Hard Hat, Bright Yellow |
|
What You Need
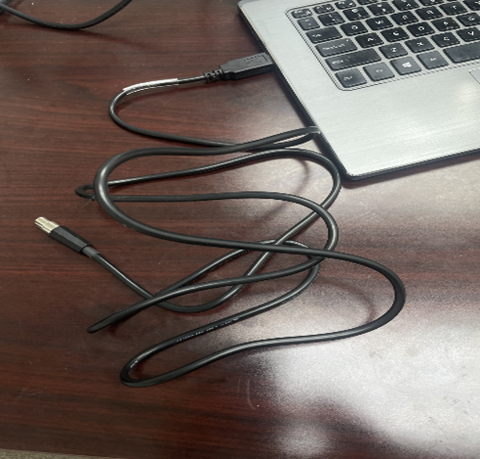
- (1) Litecom Programming Cable - 3M Part Number: FLA07
- (1) 3M Peltor Service Tool Software
- (1) License Key from 3M
For detailed instructions on installing 3M Peltor Service Tool, read more here.
Note: If you purchased the Litecom headsets from First Source Wireless, contact us and we can provide you with the download file for 3M Peltor Service Tool Software. (Proof of purchase may be required).
Requirements
- An existing UHF two-way radio
- Windows 7, 10
1. Install and Open 3M PELTOR Service Tool Software
Download and install the 3M PELTOR Service Tool. You can contact 3M PELTOR Customer Service for the download file.
Next, open the software. It will ask you to request a license key. 3M will provide you with a license key within 48 hours. Proof of purchase/invoice may be required.
Note: If you purchased the Litecom headsets from First Source Wireless, contact us and we can provide you with the download file for 3M Peltor Service Tool Software. (Proof of purchase may be required).
2. Plug the FLA07 Programming Cable Into the Computer
Plug the USB end of the FLA07 programming cable into the USB port on your computer. Your computer will make a tone letting you know the computer recognizing the USB.

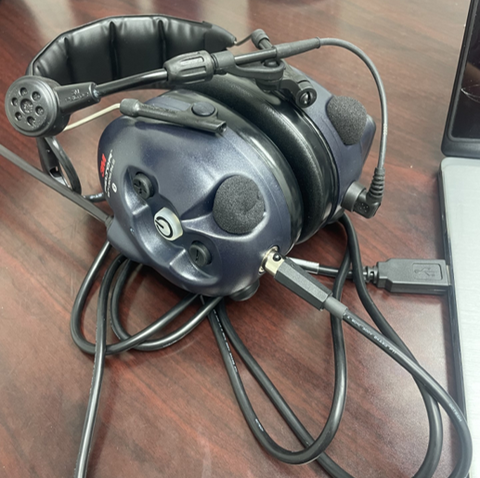
3. Plug the Programming Cable into Your Litecom Headset
Your headset must be powered OFF. Plug the other end of the FLA07 programming cable into the headset port found on the bottom of the right ear cup. The holes in the cable should align with the prongs inside the port.

4. Put the Litecom Headset into Programming Mode
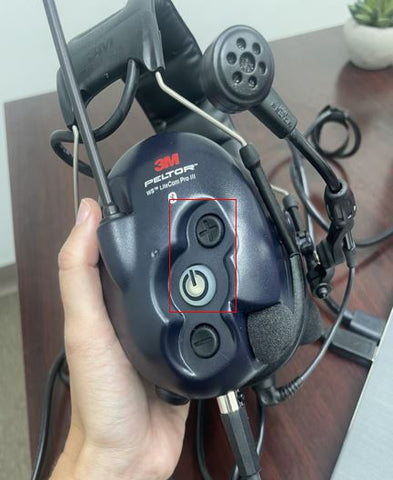
Hold the power button and volume up (+) button simultaneously for about 3 seconds. The LED will double flash when in programming mode.

On the PELTOR Service Tool, you’ll see connected at the bottom showing the headset is successfully connected.
5. How to Program Frequencies onto the Headset
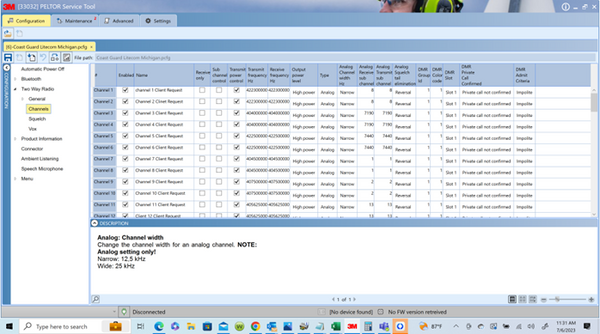
 Open the program on your computer if not already open, go to configuration in the top left corner. You can either start a new file or upload a file that’s already been created by going to open device configuration in new tab. This will open up your file explorer where you can upload the file.
In the configuration tab, on the side menu, go to two-way radio > channels.
You’ll need to type in your transmit frequencies and receive frequencies as well as receive subchannel and an analog subchannel.
Once complete, click save.

6. Write Configuration to Device
After you input the frequencies and subchannels, click on write configuration to device button.

The software will then download the frequencies onto your headset. A pop up should appear to let you know it was successful.
Repeat this step for each headset you want to program. Make sure the headset is plugged into the computer before writing.
Need Help?
We understand this process can be a bit intimidating at first. Let us help you program your WS Litecom PRO III to your existing two-way radio fleet. Reach out to us at the contact information below to get more information.
Phone: 800-991-4569

